
The moment has finally come to create your products, here is how you can!
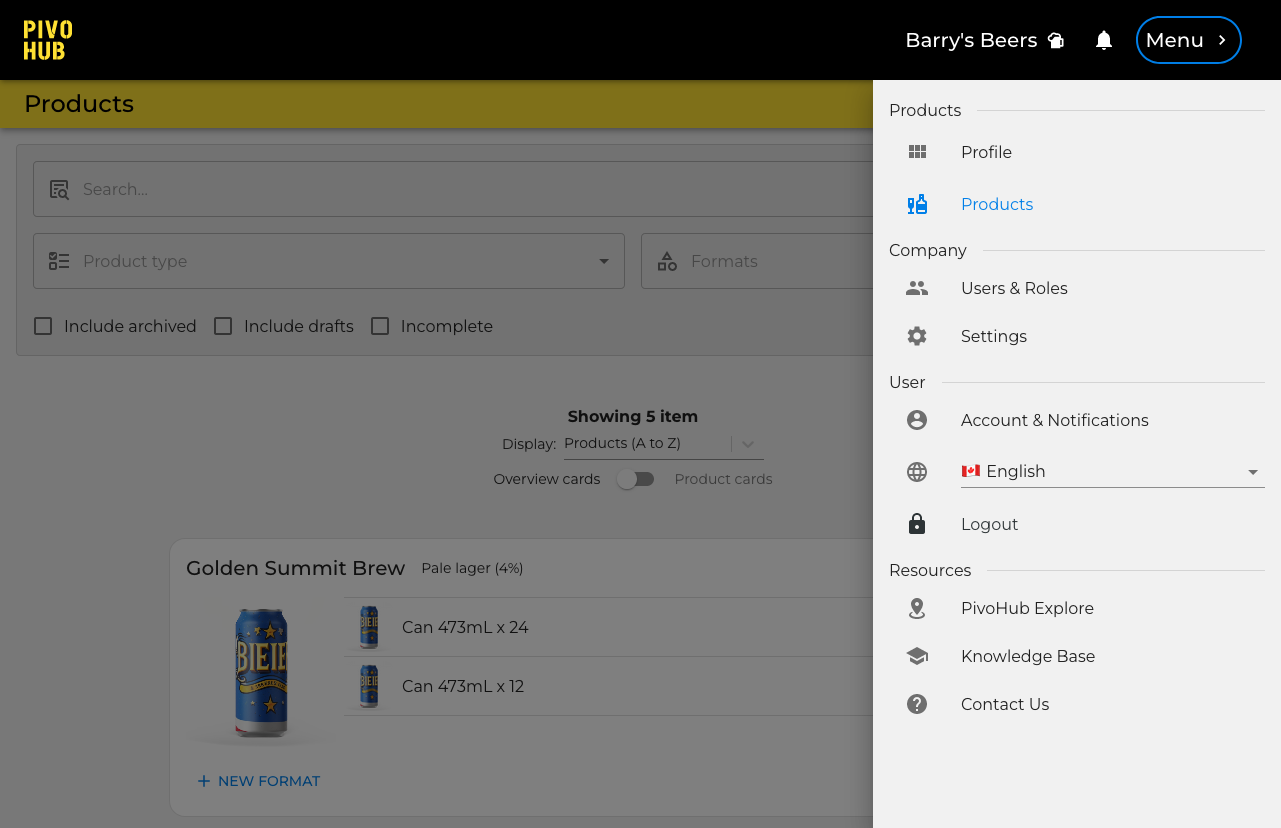
Step 1: To begin, navigate to the menu and select the Products module.
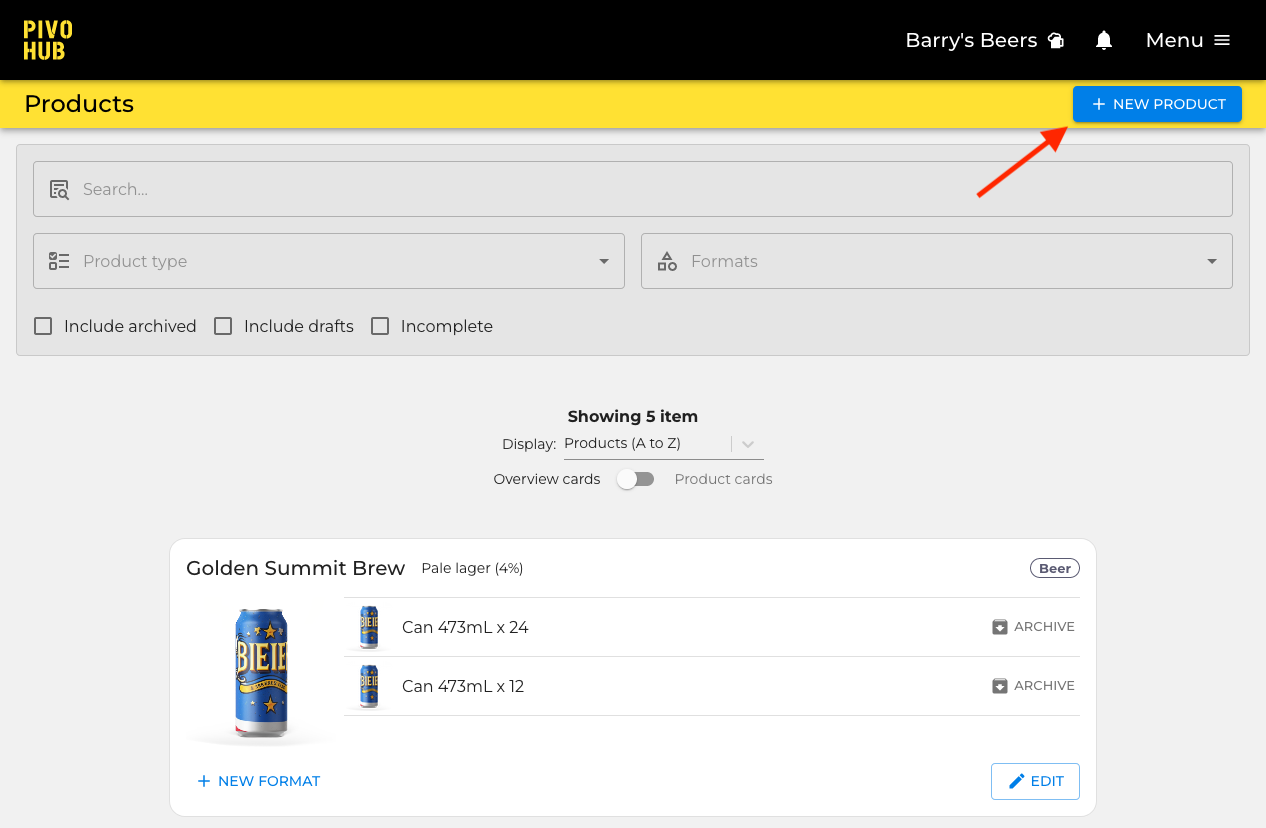
Step 2: Once in the module, locate and click on the New Product button, which can be found in the top right corner of the screen.
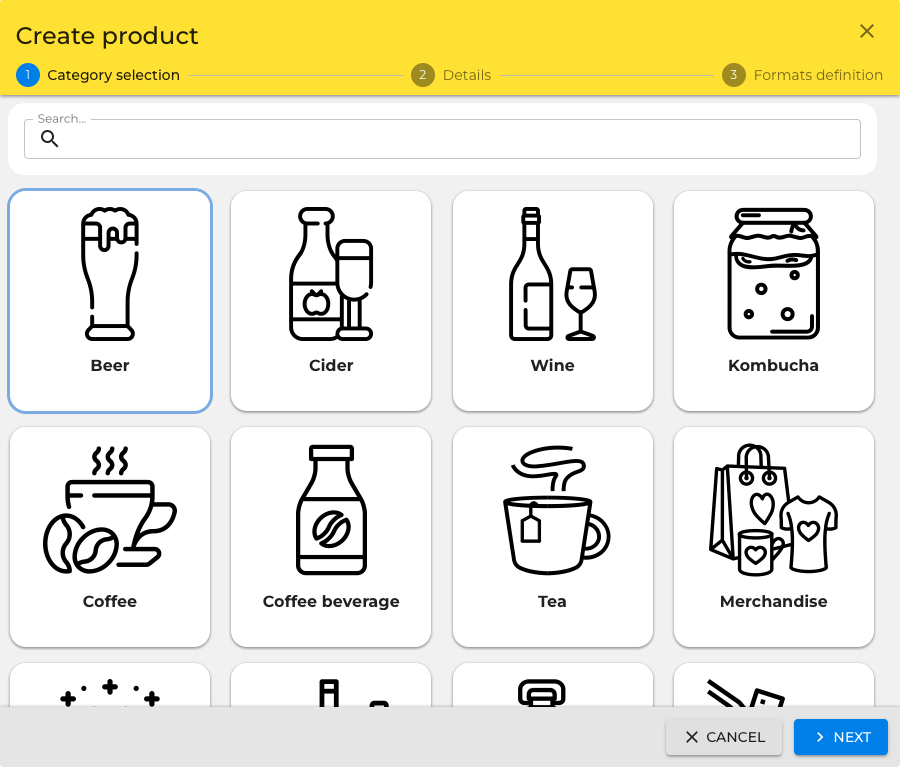
Step 3: Choose the product type that matches your creation and proceed by clicking on the Next button.
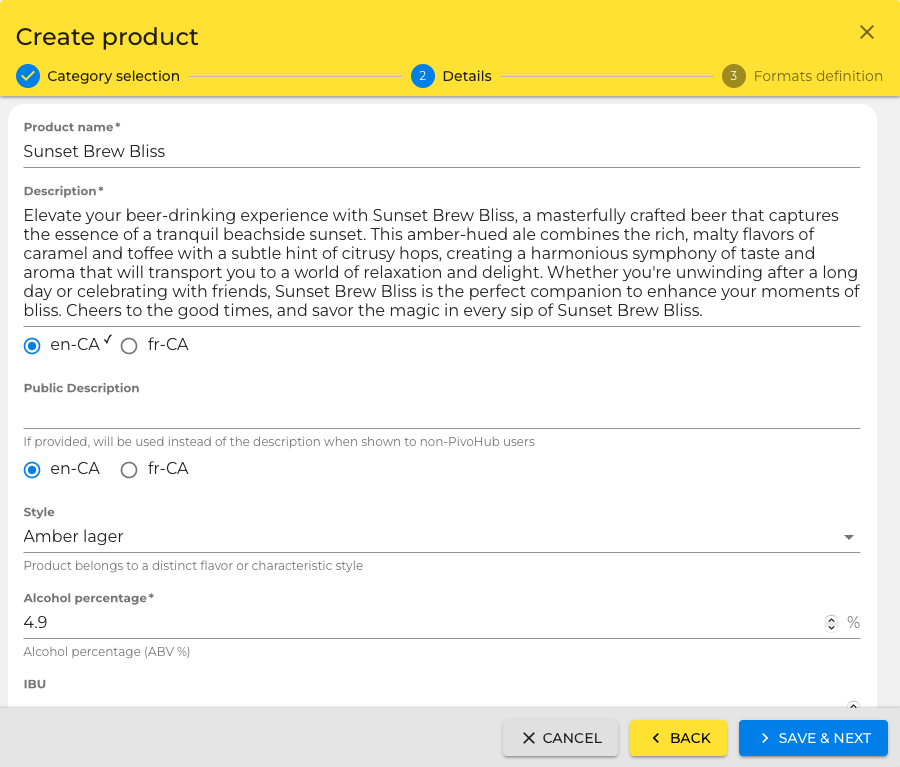
Step 4: In this step, you have the opportunity to input detailed information about your product. Once done, click on Save & Next button to create your product in a draft state.
Step 5: Next, you will need to create the different formats in which your new product will be available for sale. The appearance and layout of the form will vary depending on the specific type of product you are creating. If your product is packaged in cans, bottles, or kegs, you can refer to the guide on container-based formats below. If your product is doesn't match our predefined containers, you can skip ahead to the unit-based formats guide. Finally, if your product is measured by weight or volume, you can jump to the weight or volume-based formats.
Container-based formats
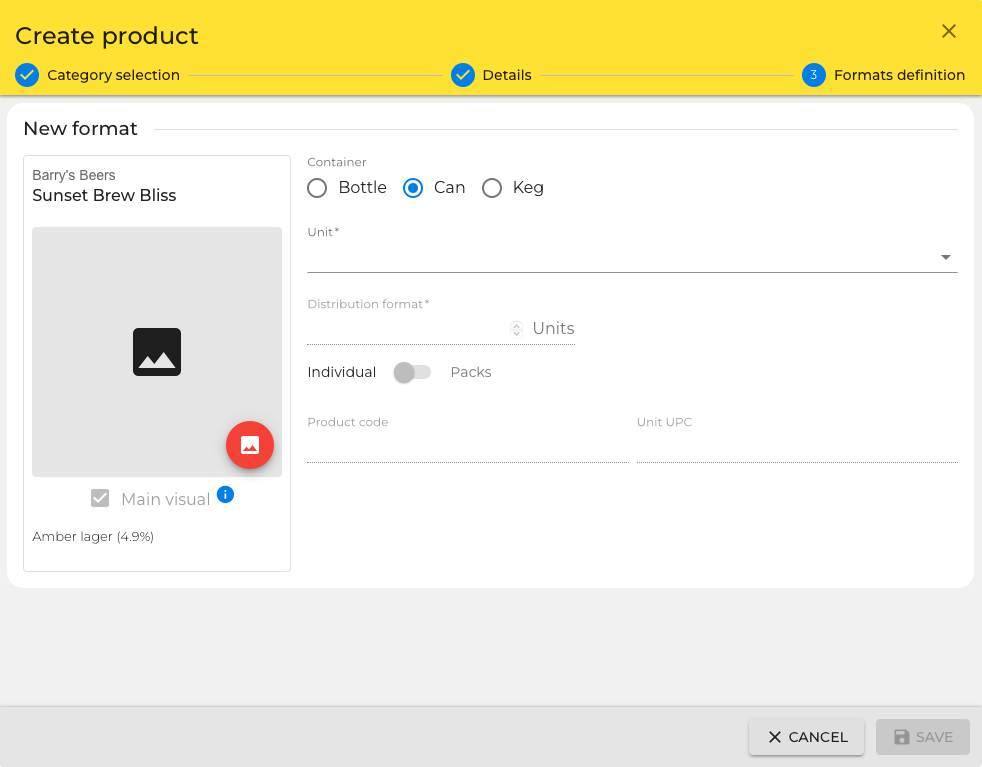
Step 1: Select the container type that most accurately matches your container from the provided options.
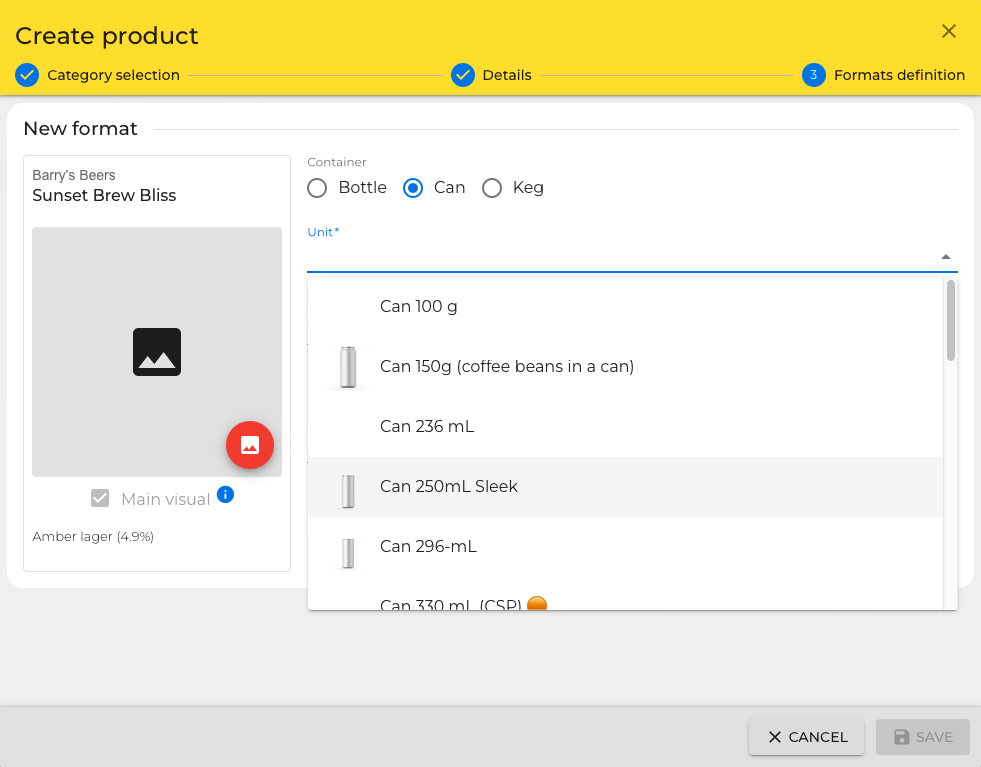
Step 2: Next, choose from our selection of pre-defined units.
Step 3: Now you can specify the distribution format. If the format is sold individually, simply enter the number of units. If your product is sold in packs, select Packs and fill out the number of packs.
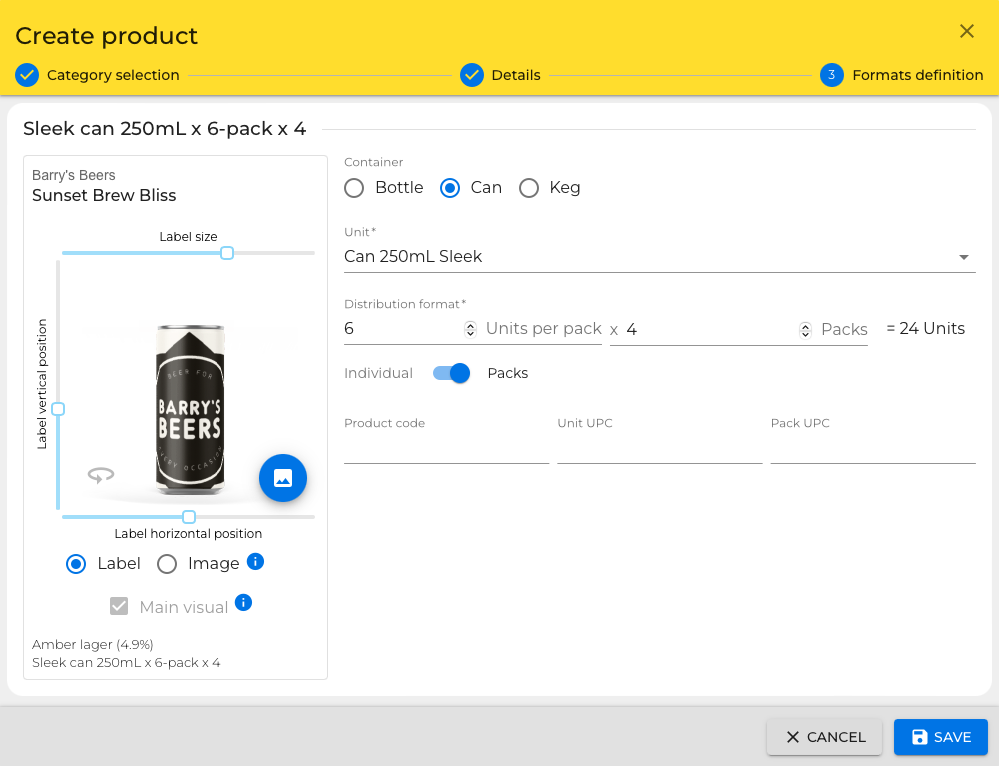
Step 4: If you want to include any unique codes or UPCs for your product, you can do so here.
Step 5: To upload an image for your product, simply click on the floating button located in the preview card on the left-hand side.
Good to know: The right image choice is very important for the set up of your marketplace. Make sure to read the Which type of image to use article.
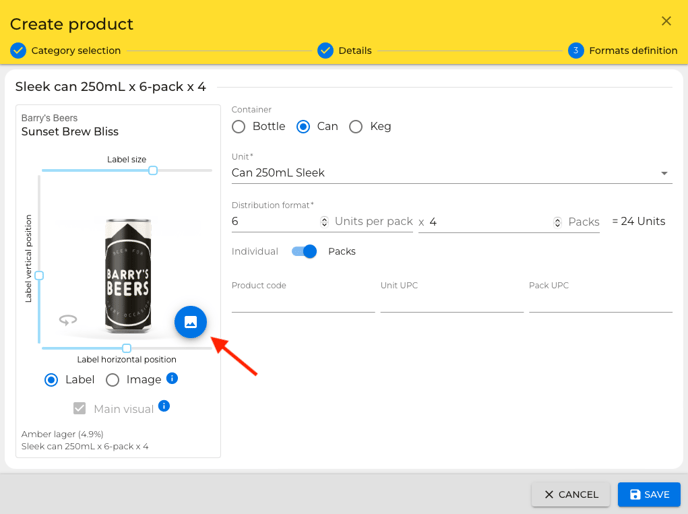
Step 6: If the image you have selected is not a label, you can choose the Image option and move directly to Step 8.
Step 7: If your image is a label, use the top, bottom and left sliders to adjust its size and position.
Step 8: After completing all the necessary steps, click on the Save button to finalize the process. Congratulations! You have successfully created a product on PivoHub.
Tip: If you want to create additional formats, you can easily do so by following the same steps outlined in the Formats tab of the product edit dialog.
Unit-based formats
Step 1: If the format is sold individually, you can specify the number of units per package. However, If your format is sold in bundles or packs, you have the option to select Multiple and fill out the number of units.
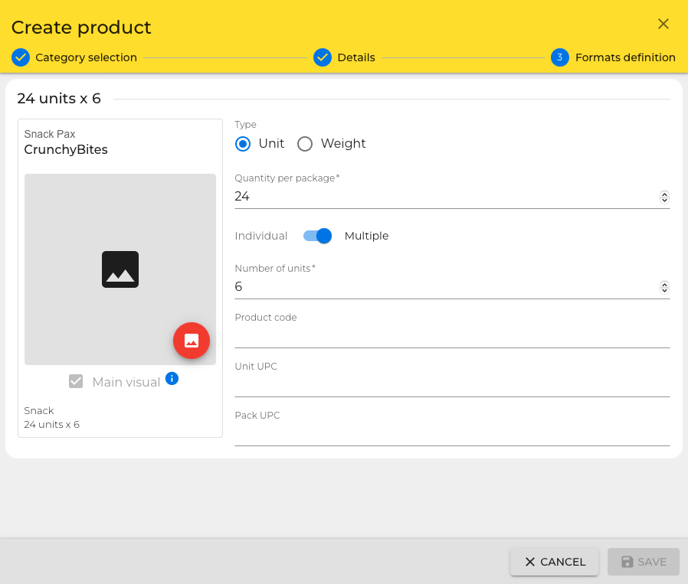
Step 2: If you want to include any unique codes or UPCs for your product, you can do so here.
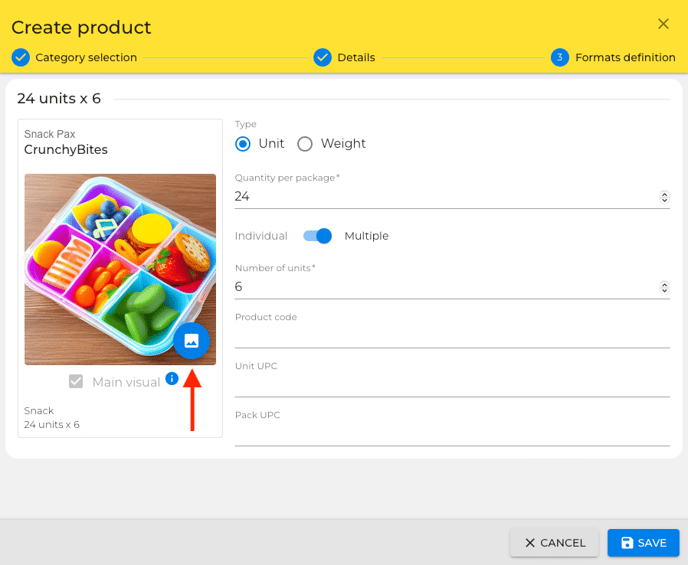
Step 3: To upload an image for your product, simply click on the floating button located in the preview card on the left-hand side.
Good to know: The right image choice is very important for the set up of your PivoHub shop. Make sure to read the "Which type of image to use" article.
Step 4: After completing all the necessary steps, click on the Save button to finalize the process. Congratulations! You have successfully created a product on PivoHub.
Tip: If you want to create additional formats, you can easily do so by following the same steps outlined in the Formats tab of the product edit dialog.
Weight or volume-based formats
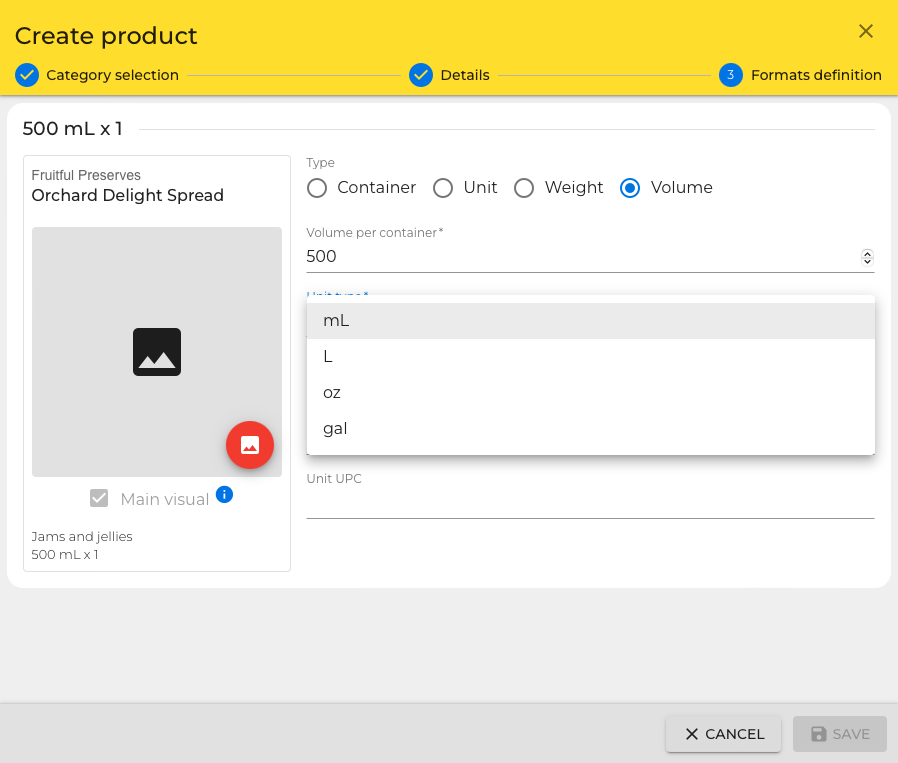
Step 1: If the format is sold individually, you can specify the weight/volume per package.
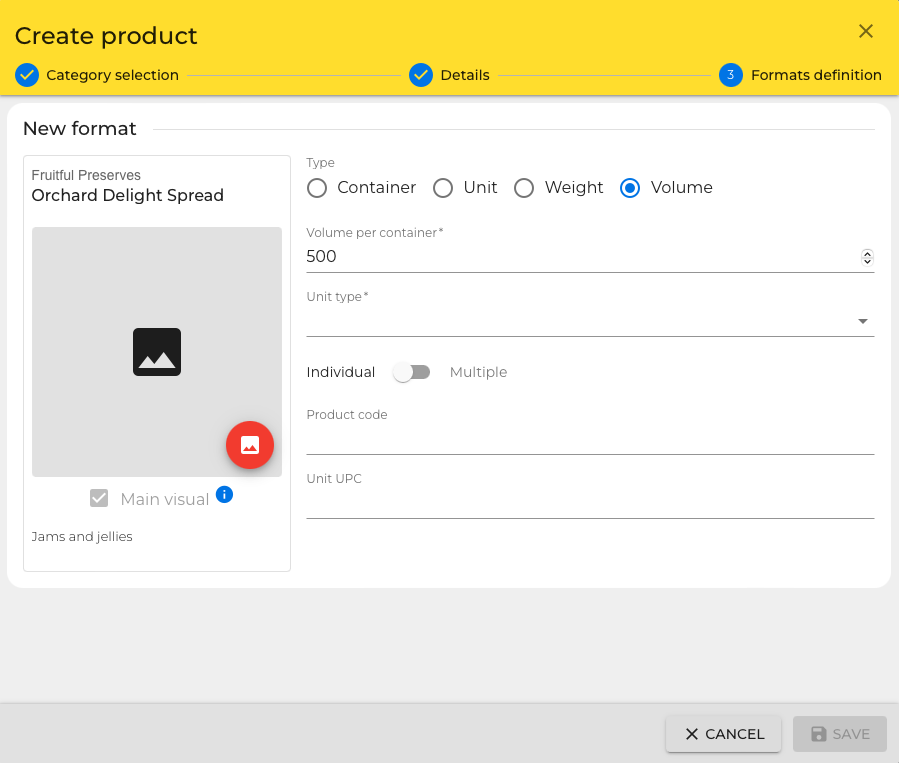
Step 2: Choose the unit of measurement that corresponds to the format of your product.
Step 3: If your format is sold in bundles or packs, you have the option to select Multiple and fill out the number of units.
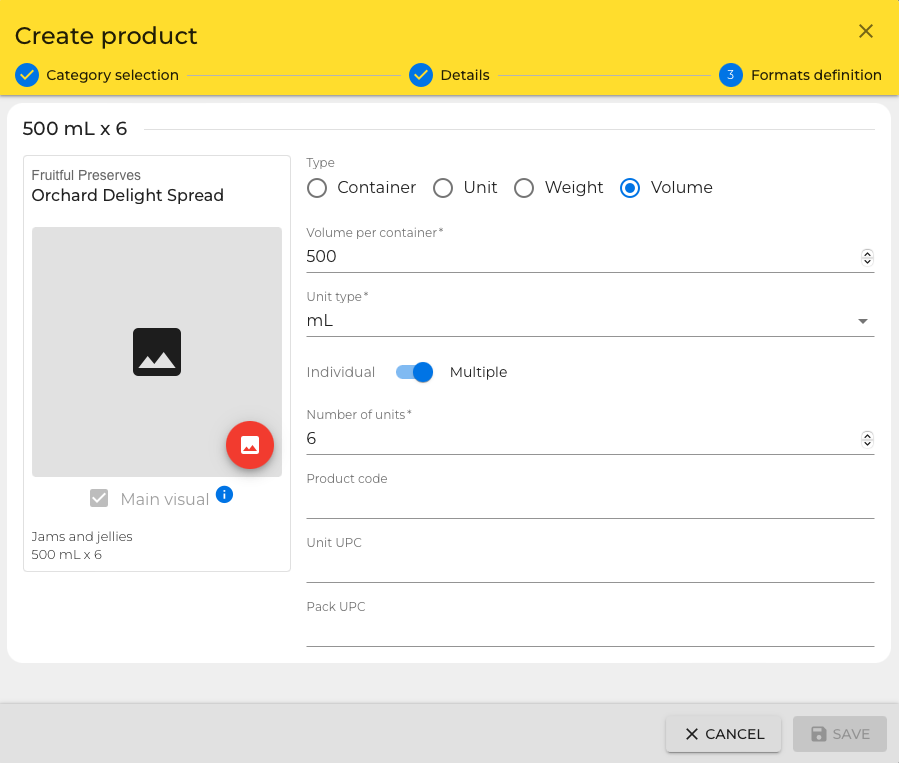
Step 4: If you want to include any unique codes or UPCs for your product, you can do so here.
Step 5: To upload an image for your product, simply click on the floating button located in the preview card on the left-hand side.
Good to know: The right image choice is very important for the set up of your PivoHub shop. Make sure to read the "Which type of image to use" article.
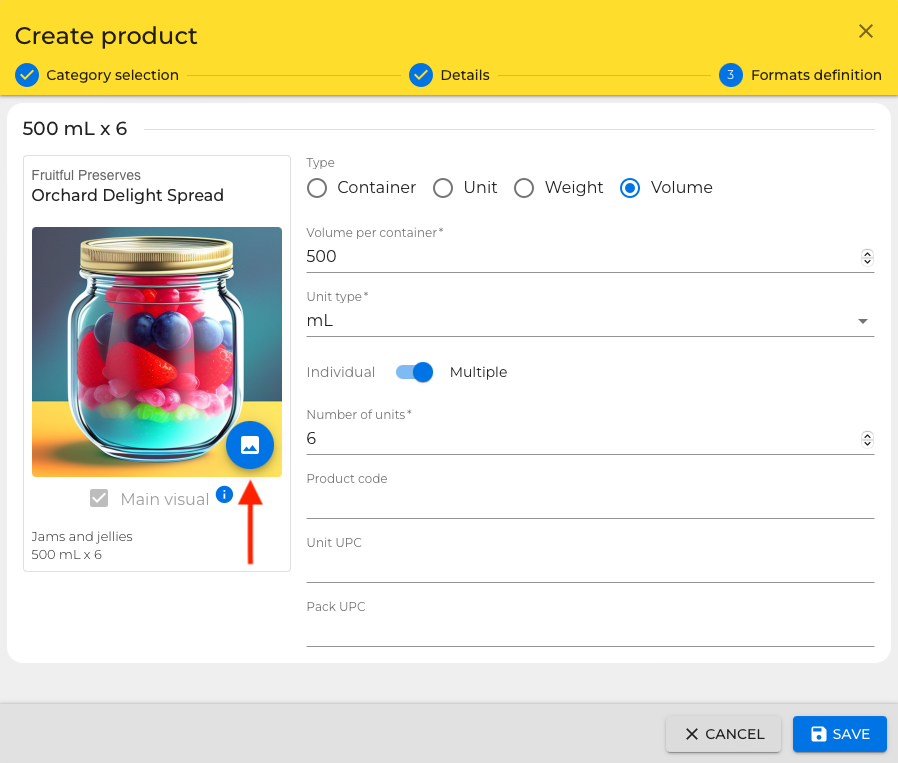
Step 6: After completing all the necessary steps, click on the Save button to finalize the process. Congratulations! You have successfully created a product on PivoHub.
Tip: If you want to create additional formats, you can easily do so by following the same steps outlined in the Formats tab of the product edit dialog.