This article presents the two possible strategies for importing your PivoHub data into your Quickbook account.
Once you have exported your PivoHub data in CSV format, you have two options for importing it into your Quickbook account.
Quick and dirty data import

Warning: The "Quick and dirty" strategy does not allow you to compare your PivoHub data (customers and products) with your Quickbooks data. There is therefore a risk of creating duplicates.
This type of import is faster to do, but will give you lower quality data. If you feel that the quality of the data in your Quickbooks account is not important to you, use this technique.
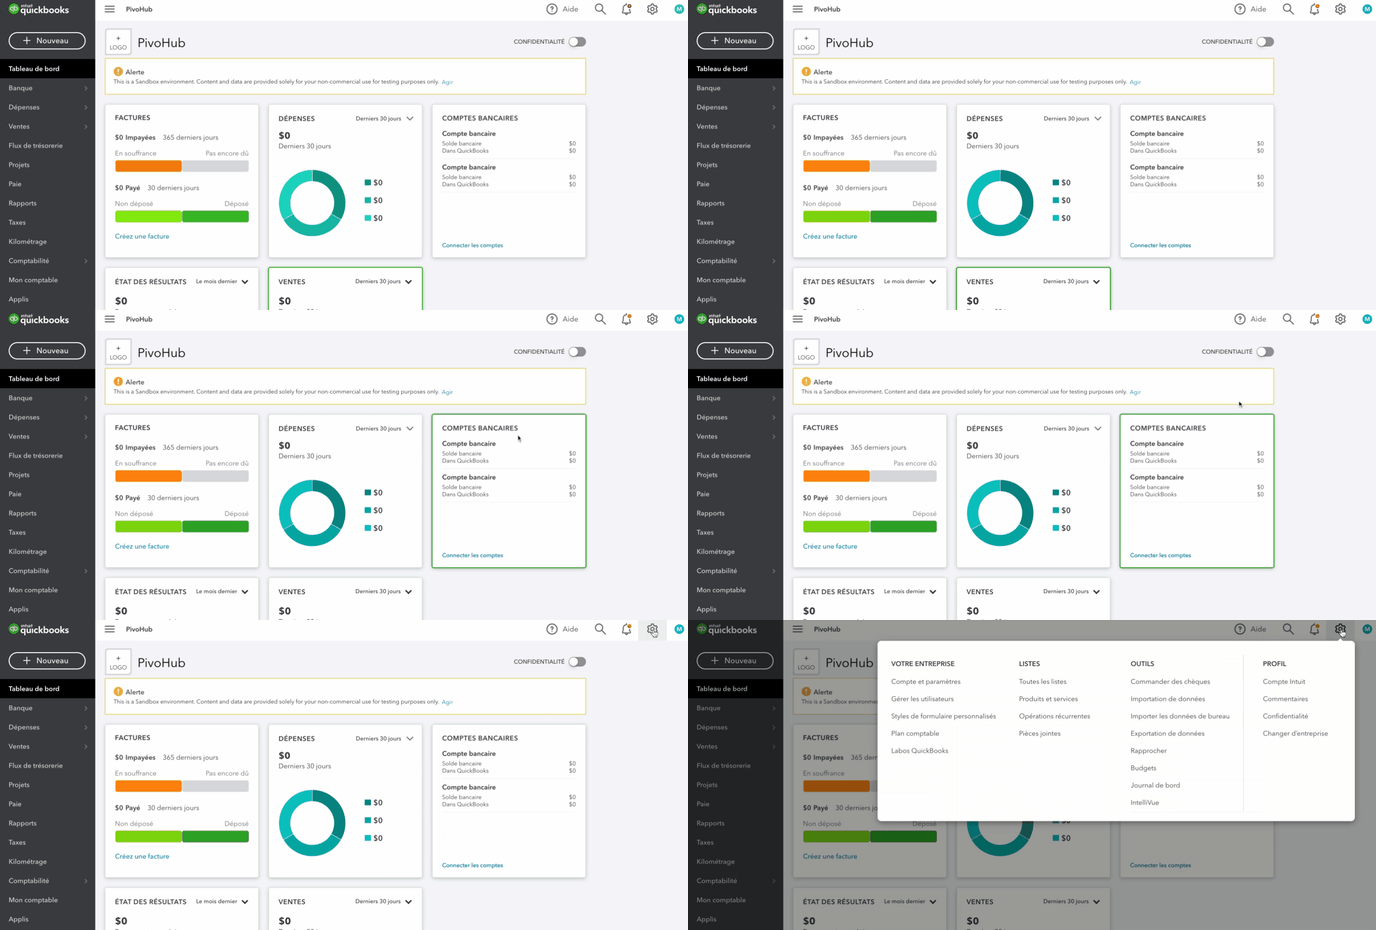
Step 1: Open your menu by clicking on the cog wheel at the top left of your window.
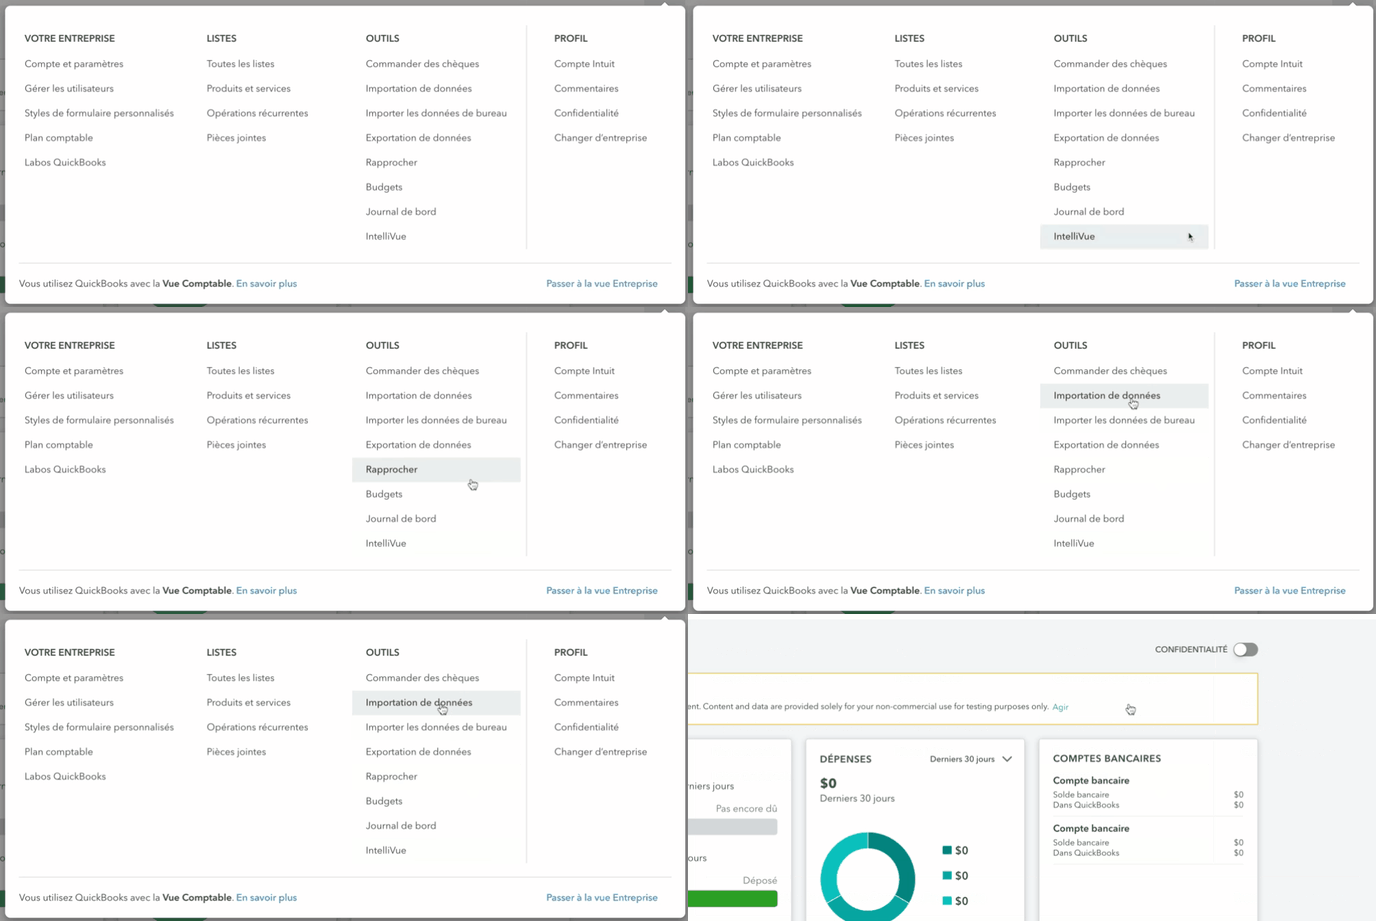
Step 2: From the menu, select "Data Import".
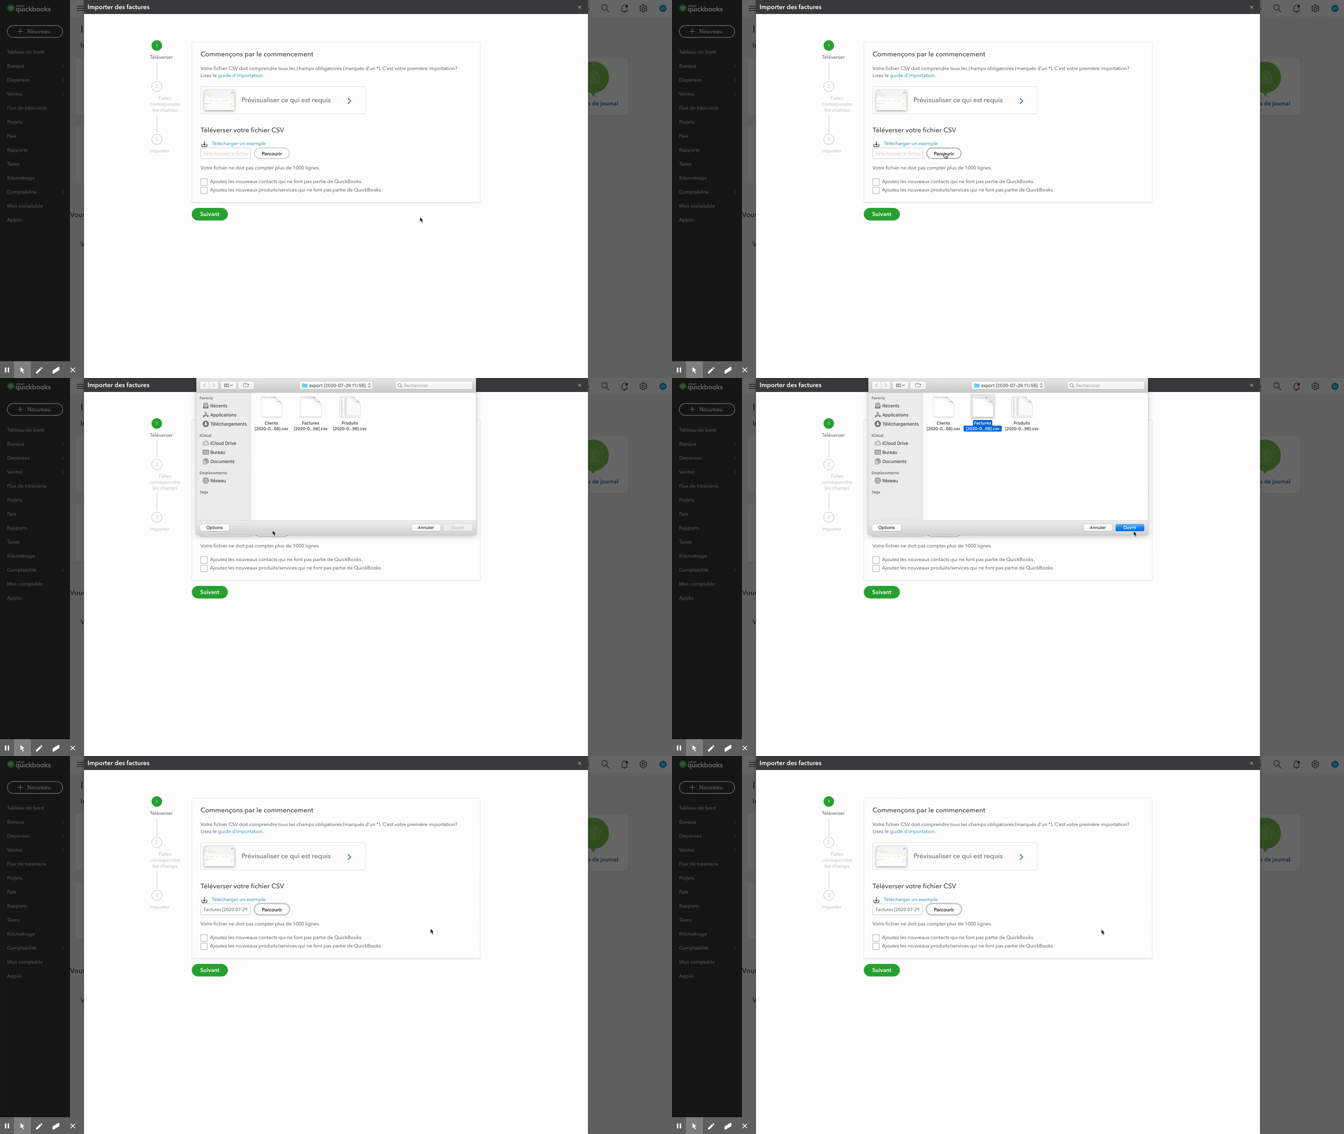
Step 3: Click on "Invoices", this will open the "Import Invoices" box.

Step 4: In the "Import invoices" box, upload the invoices.csv file that was exported from PivoHub.
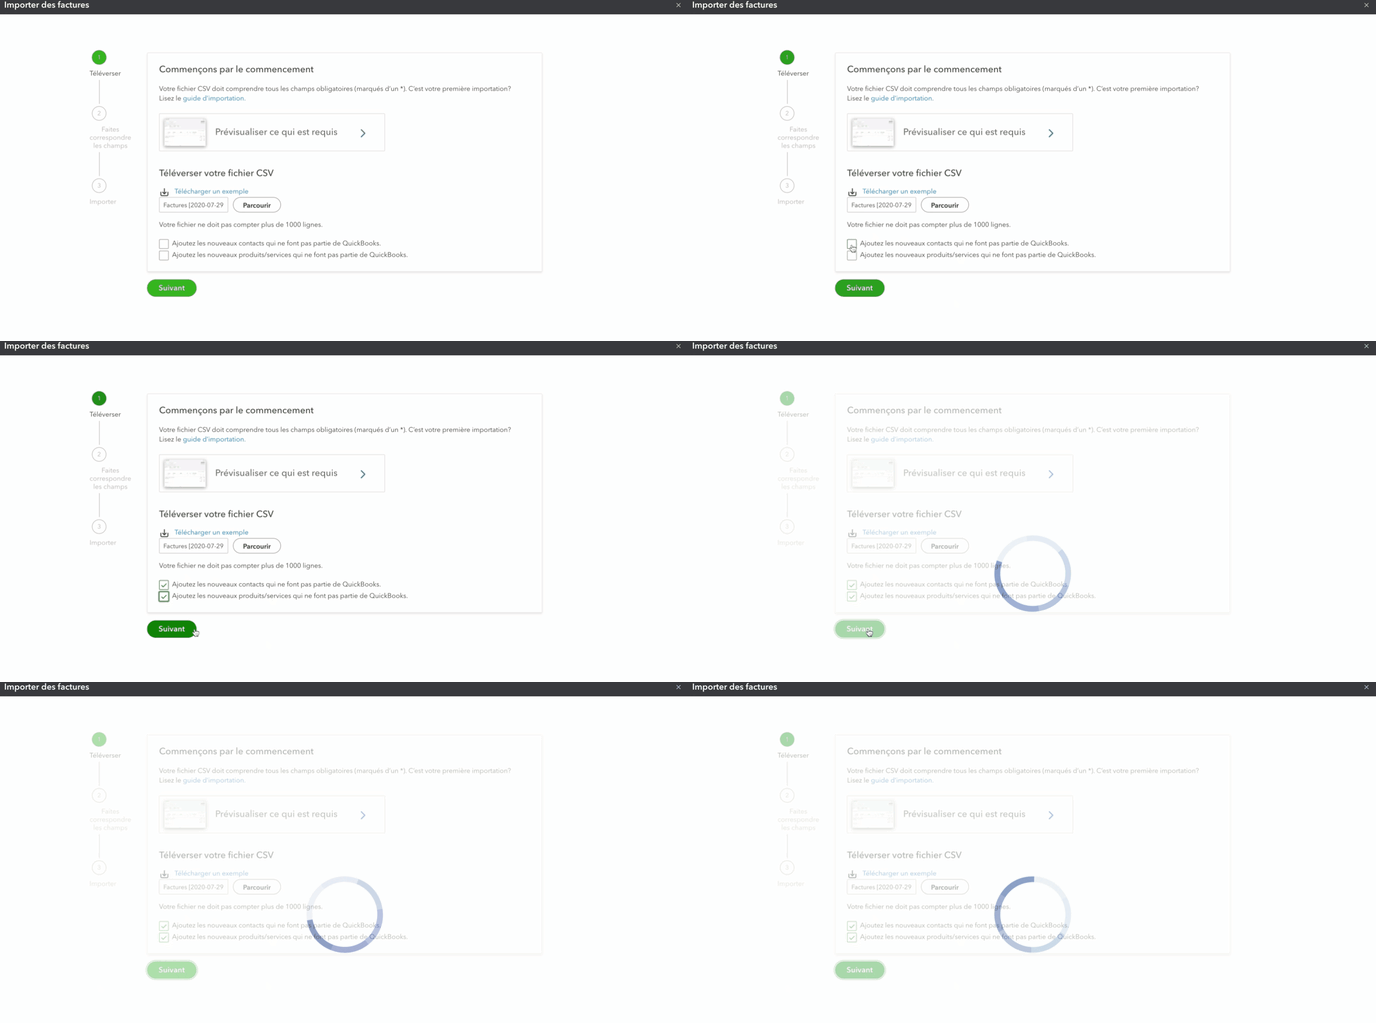
Step 5: Check the boxes "Add my contacts" and "Add my products" if you invoice with PivoHub. Then click on "Next".
Step 6: Select the date format (D-M-YYYY) and click "Next".
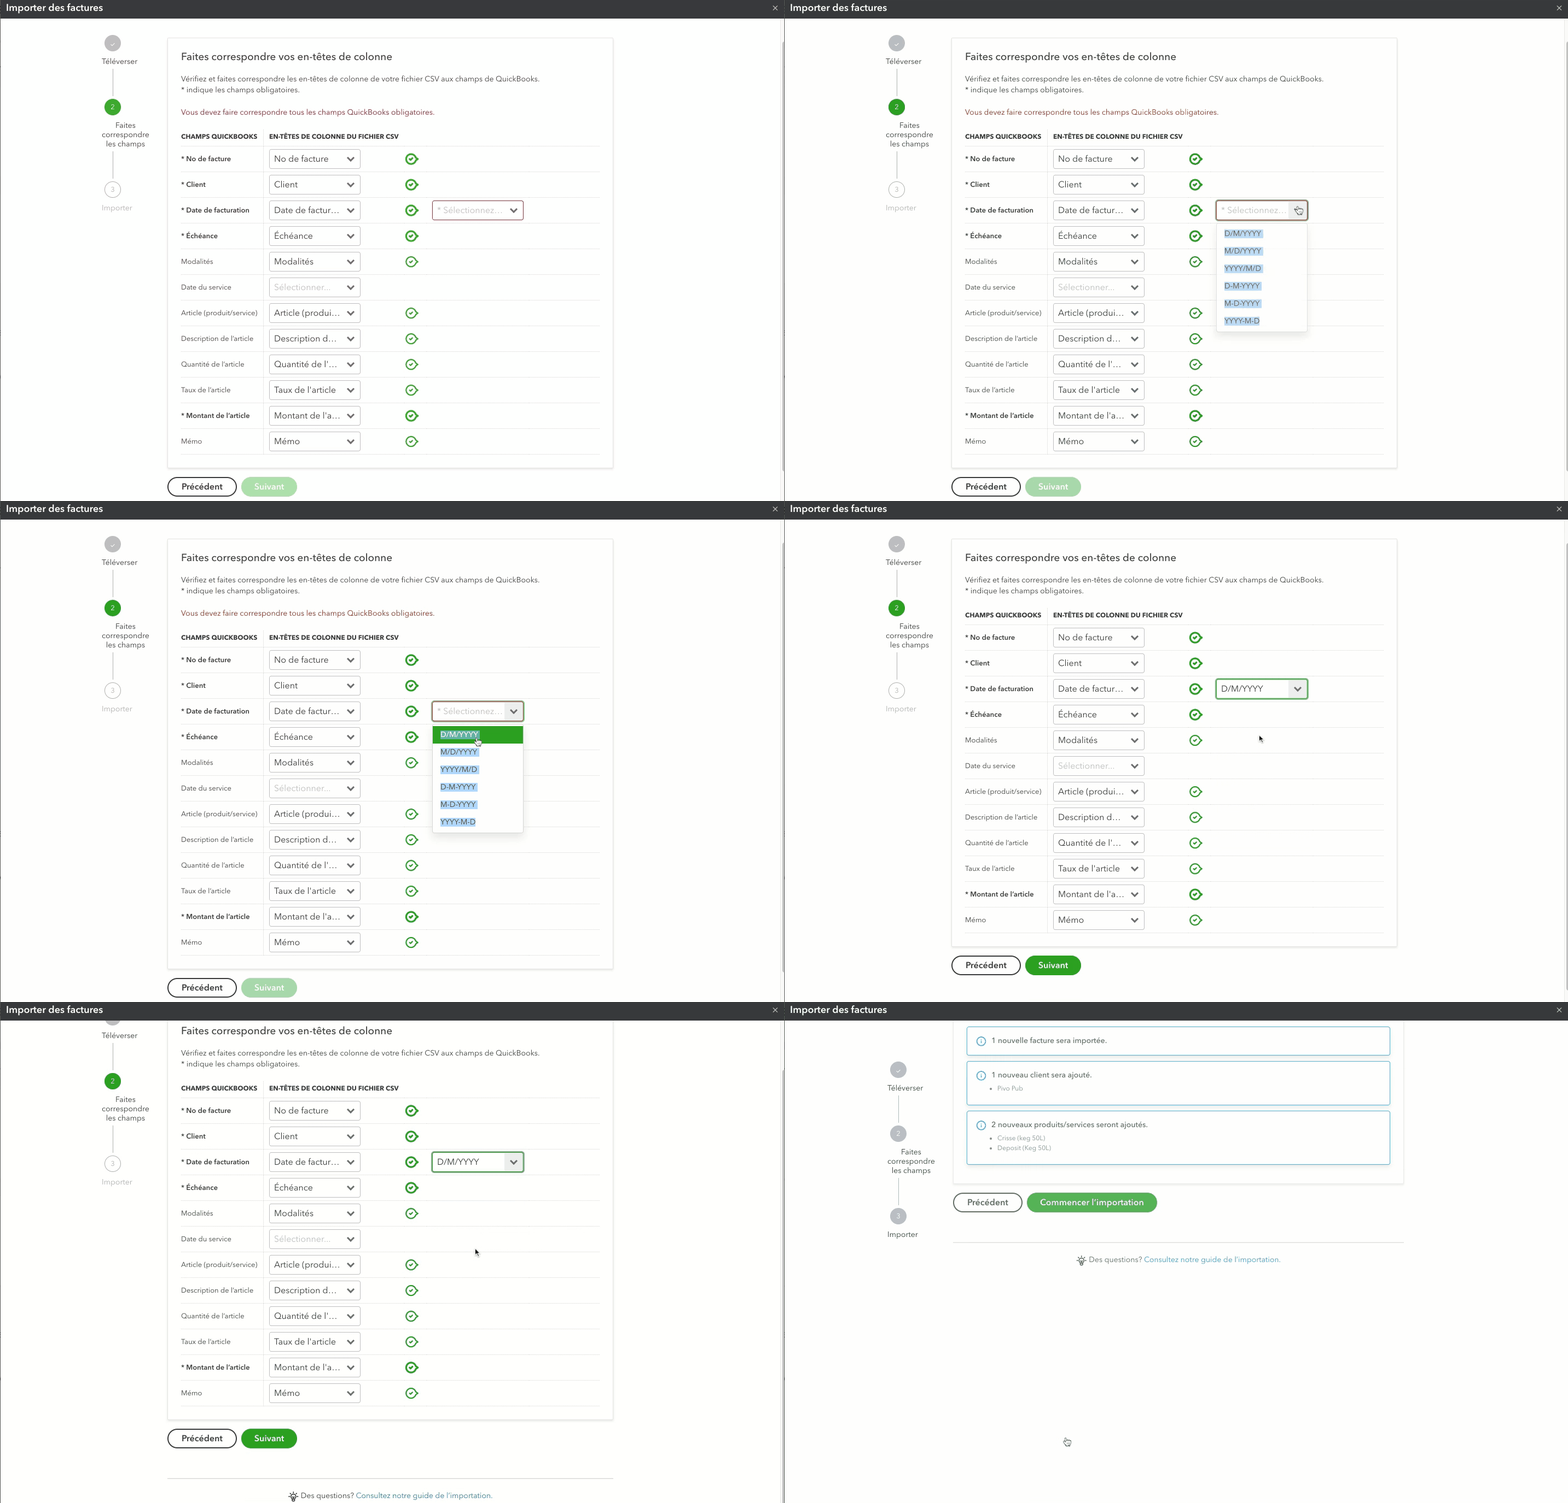
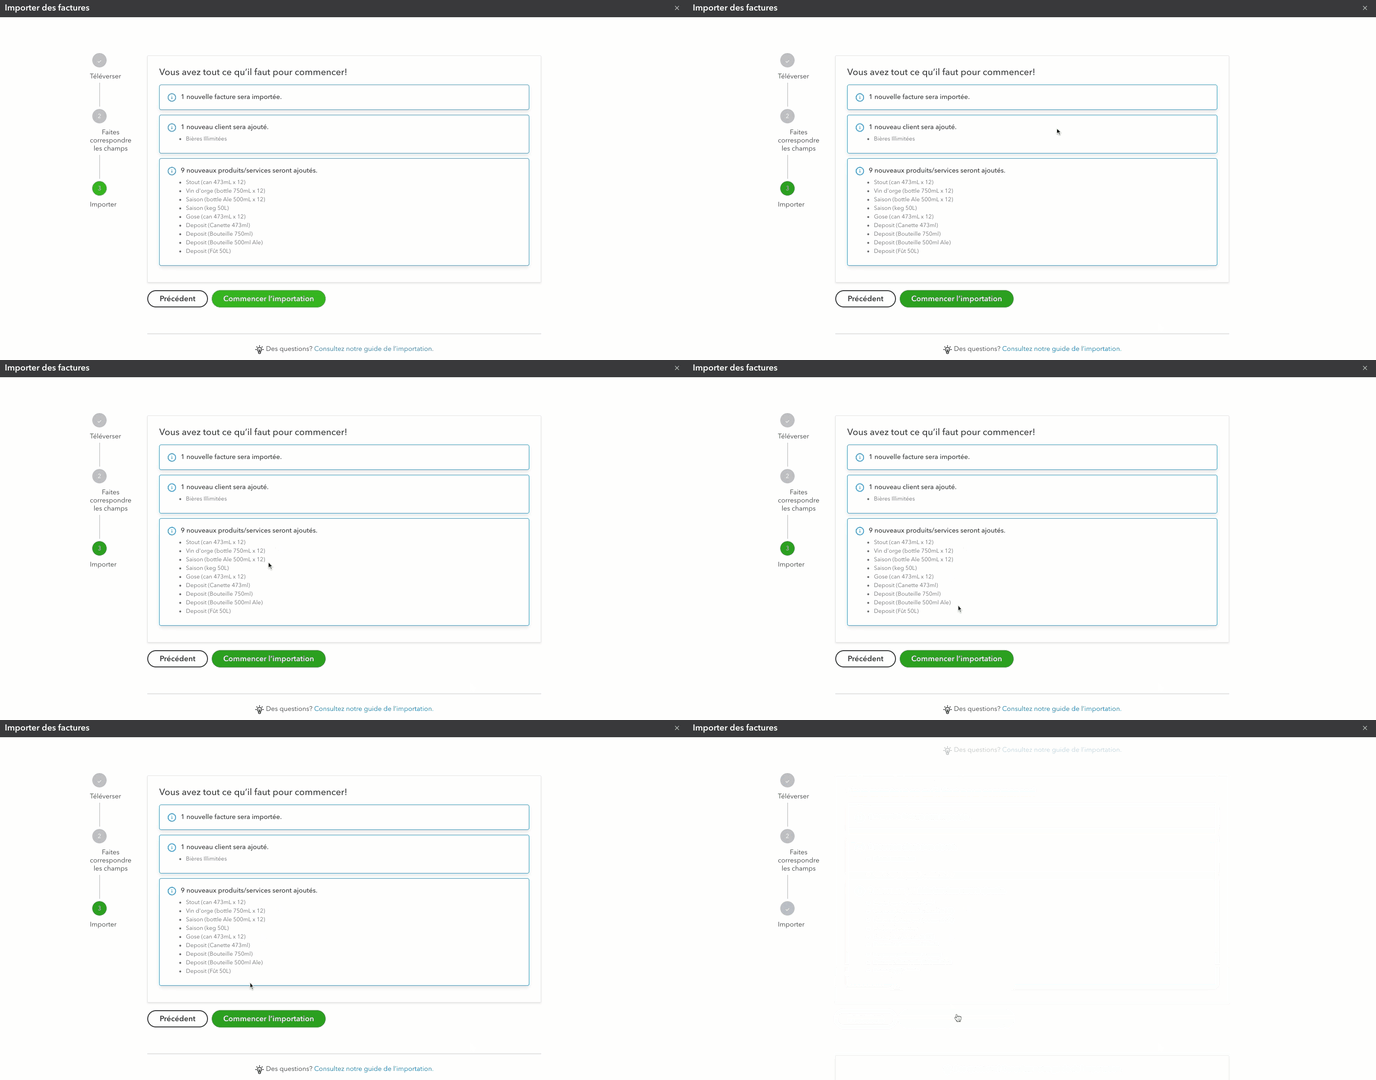
Step 8: Verify your information then click on "start import".
"Clean" data import.
This type of import will allow you to have more reliable and complete data. However, it requires more time since it must be done in 3 parts.
Part 1: Importing customers.
Step 1: Open your menu by clicking on the cog wheel at the top left of your window.

Step 2: From the menu, select "Data Import".

Step 3: Click on "Customers".

Step 4: Upload the clients.csv file that was exported from PivoHub and click "Next".
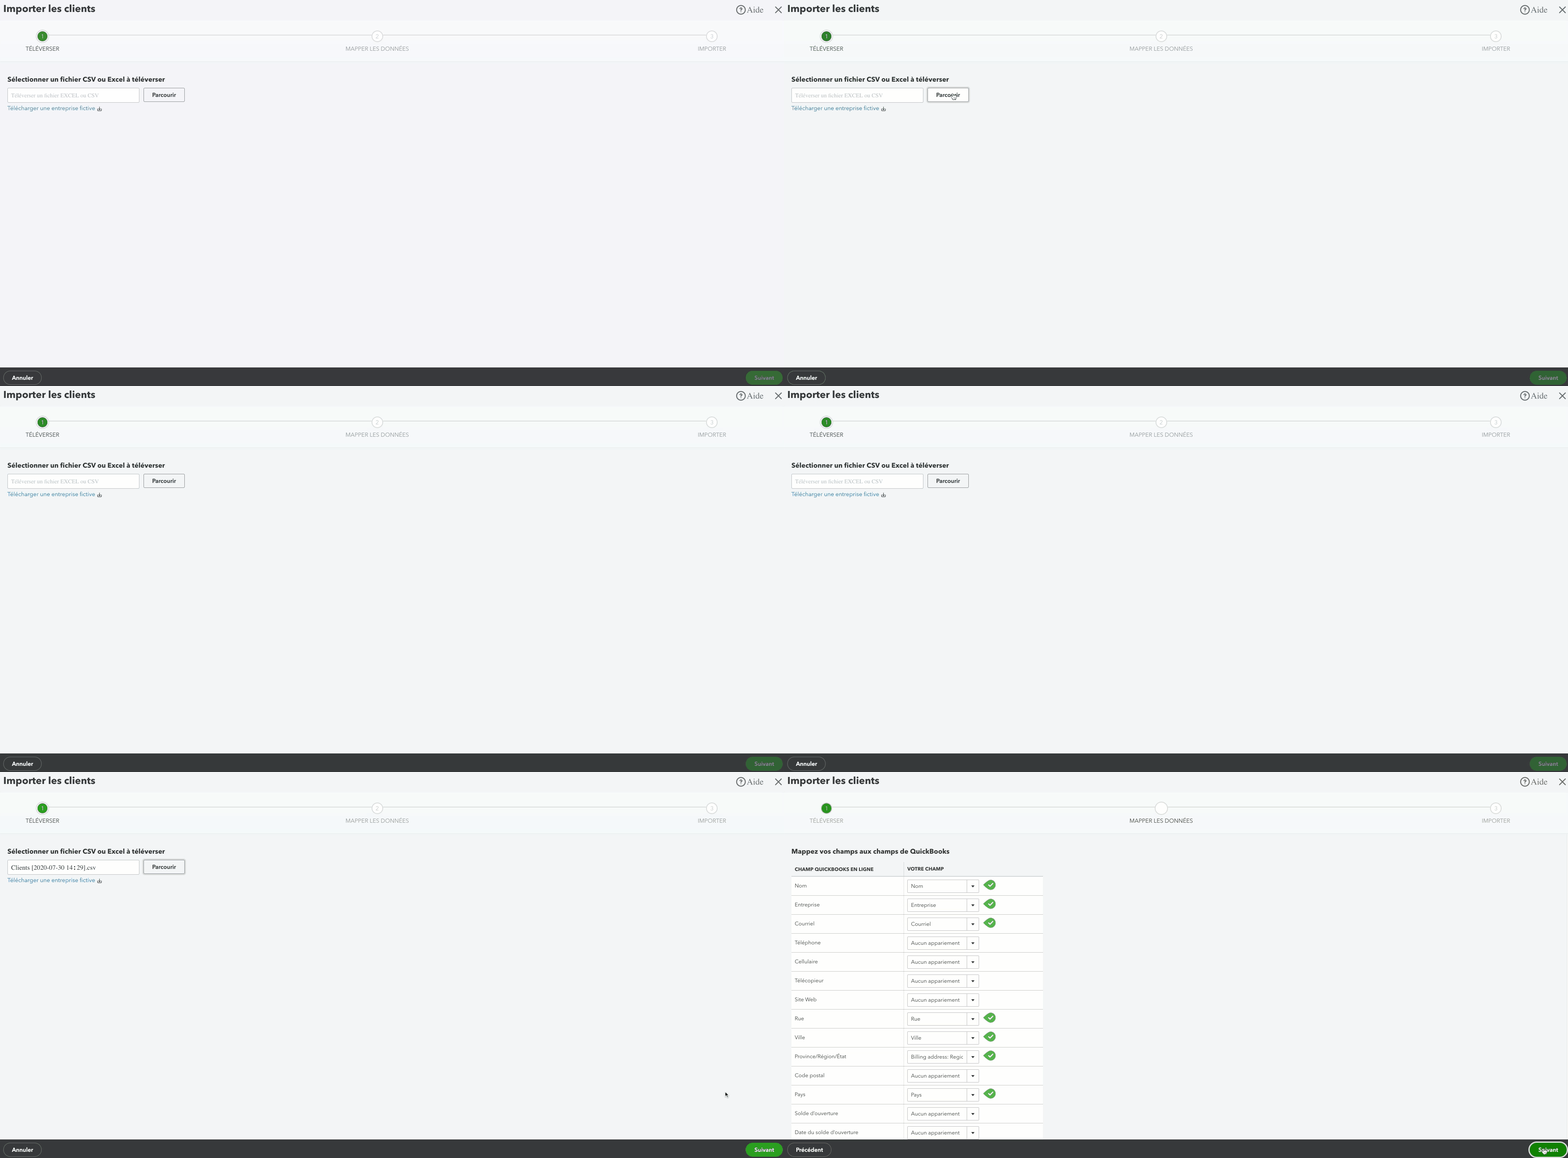
Step 5: For importing customers, the fields are already properly filled in, so click on "Next".
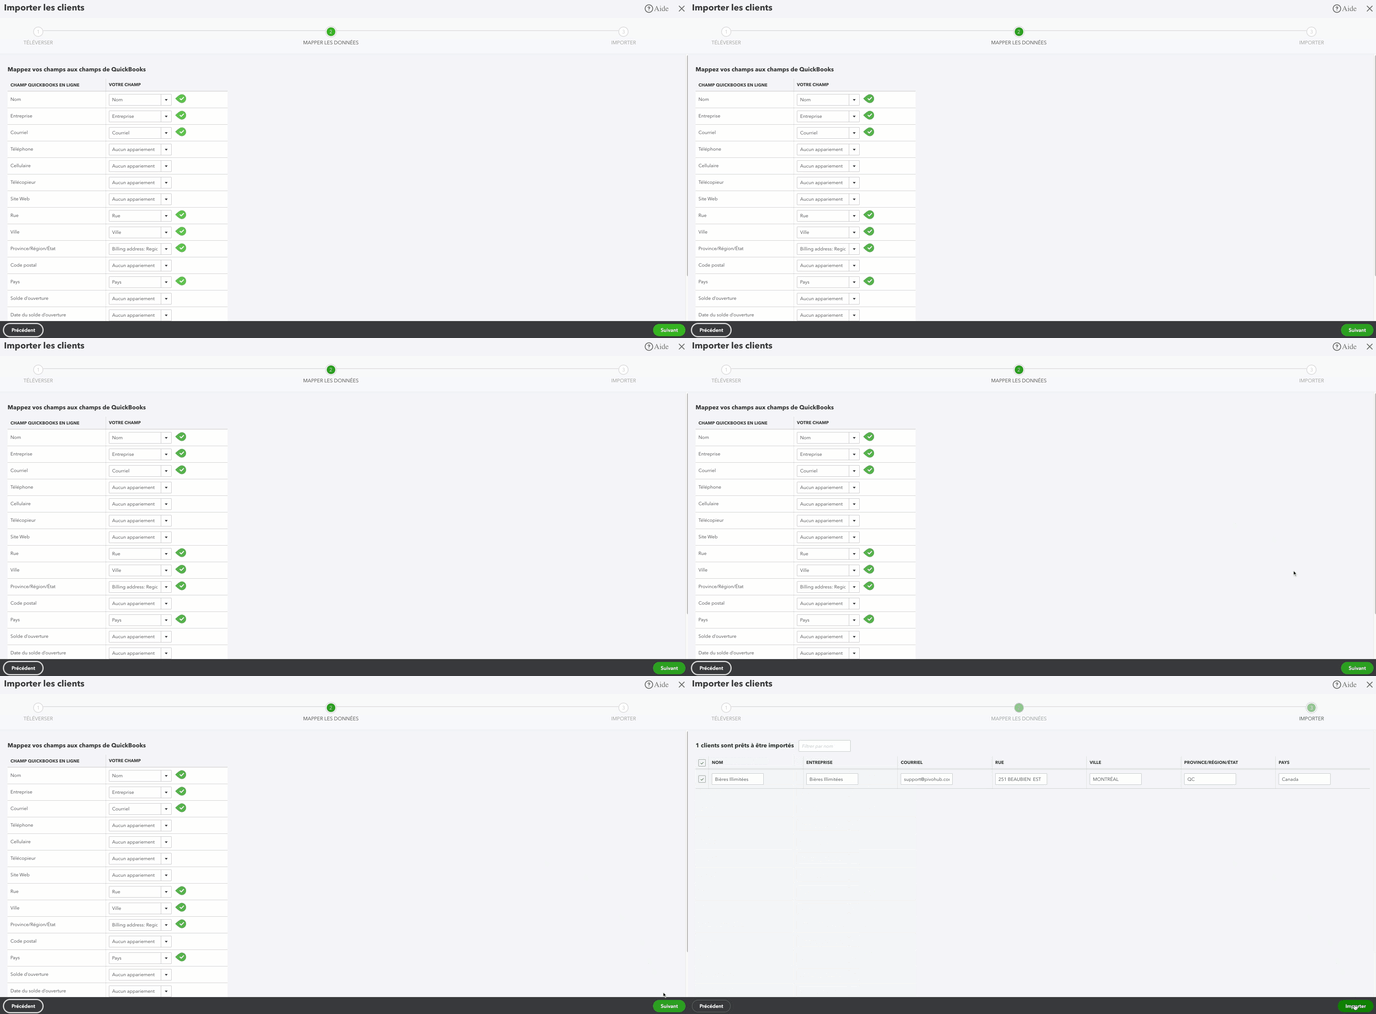
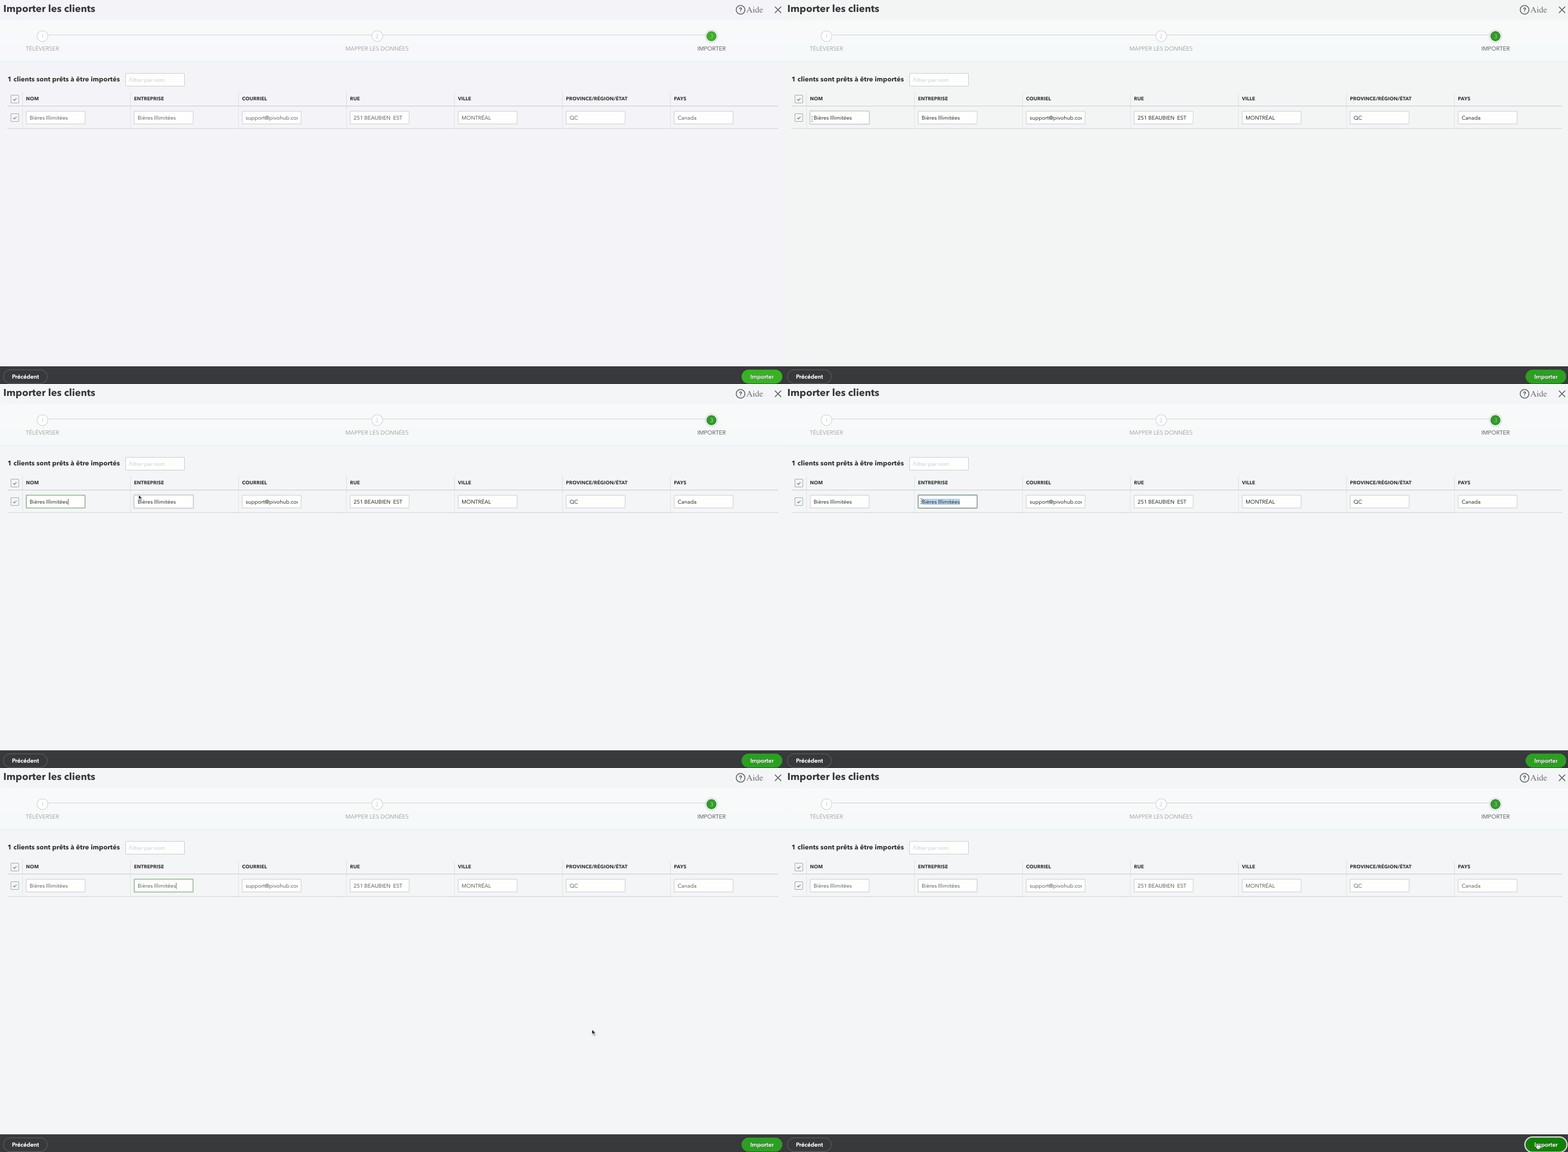
Step 6: Quickbooks will show you the data that will be imported. Make sure that the data is correct and then click on "import".
 It is possible that Quickbooks tells you that the "Company" column is wrong. To fix this problem, copy the information from the "Customers" column to the fields in the "Company" column.
Part 2: Importing products.
Step 1: Open your menu by clicking on the cog wheel at the top left of your window.

Step 2: From the menu, select " Data Import".

Step 3: Click on "Products and Services".

Step 4: Select the Products.csv file exported from PivoHub and click Next.
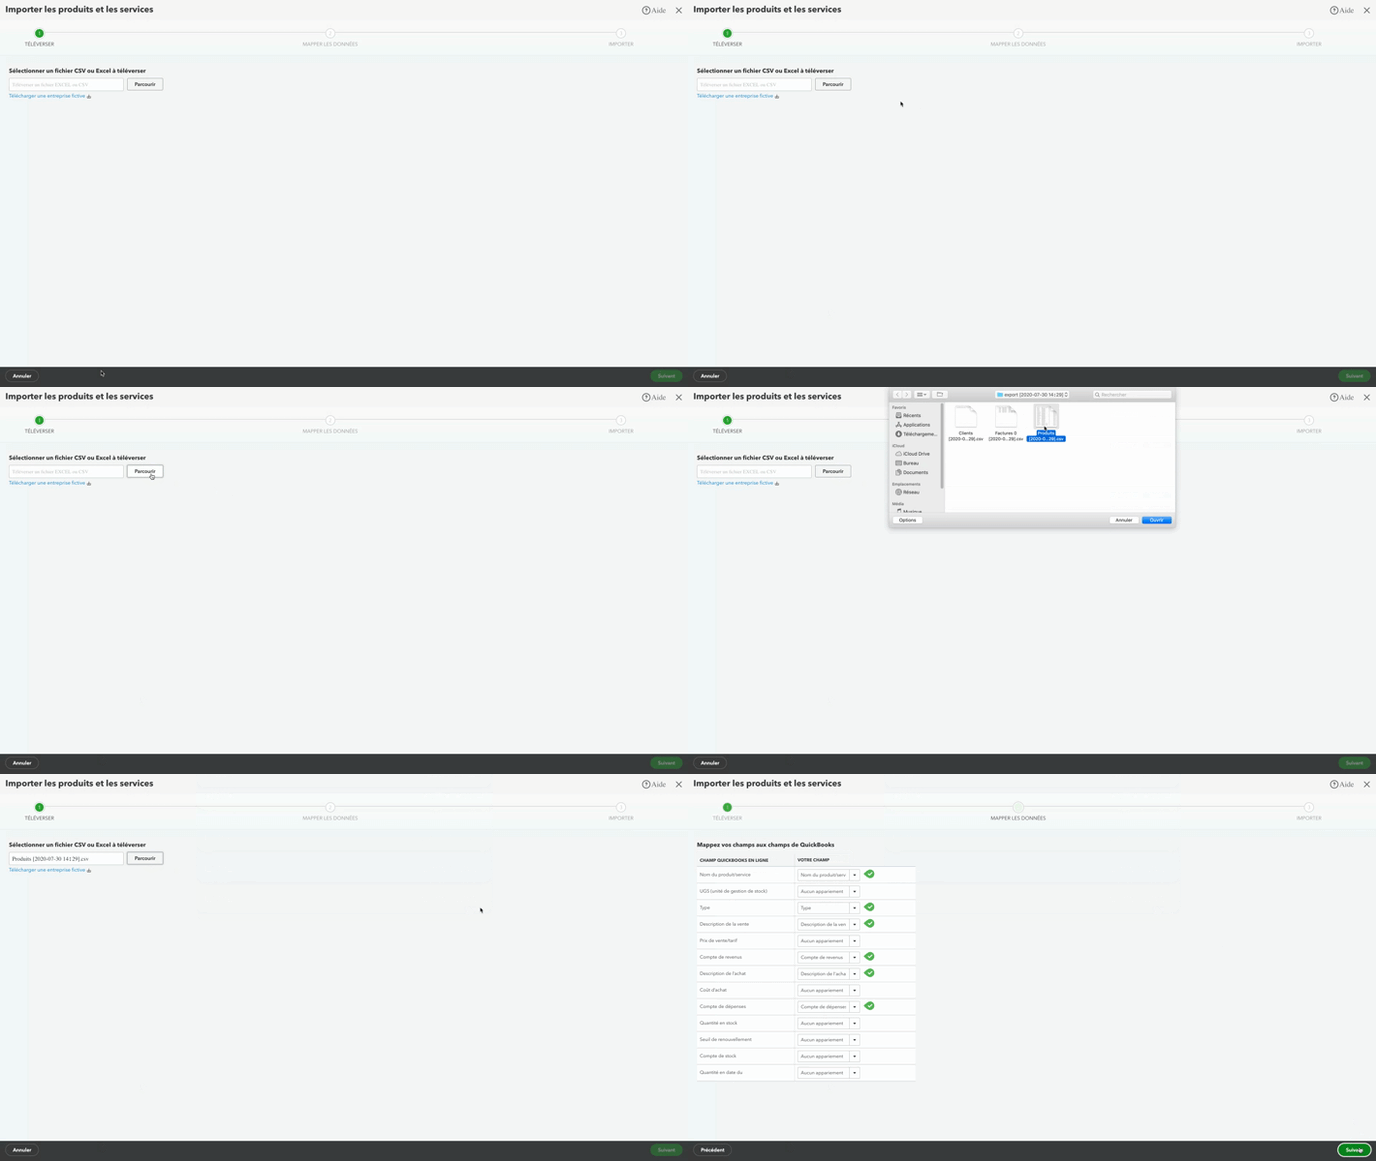
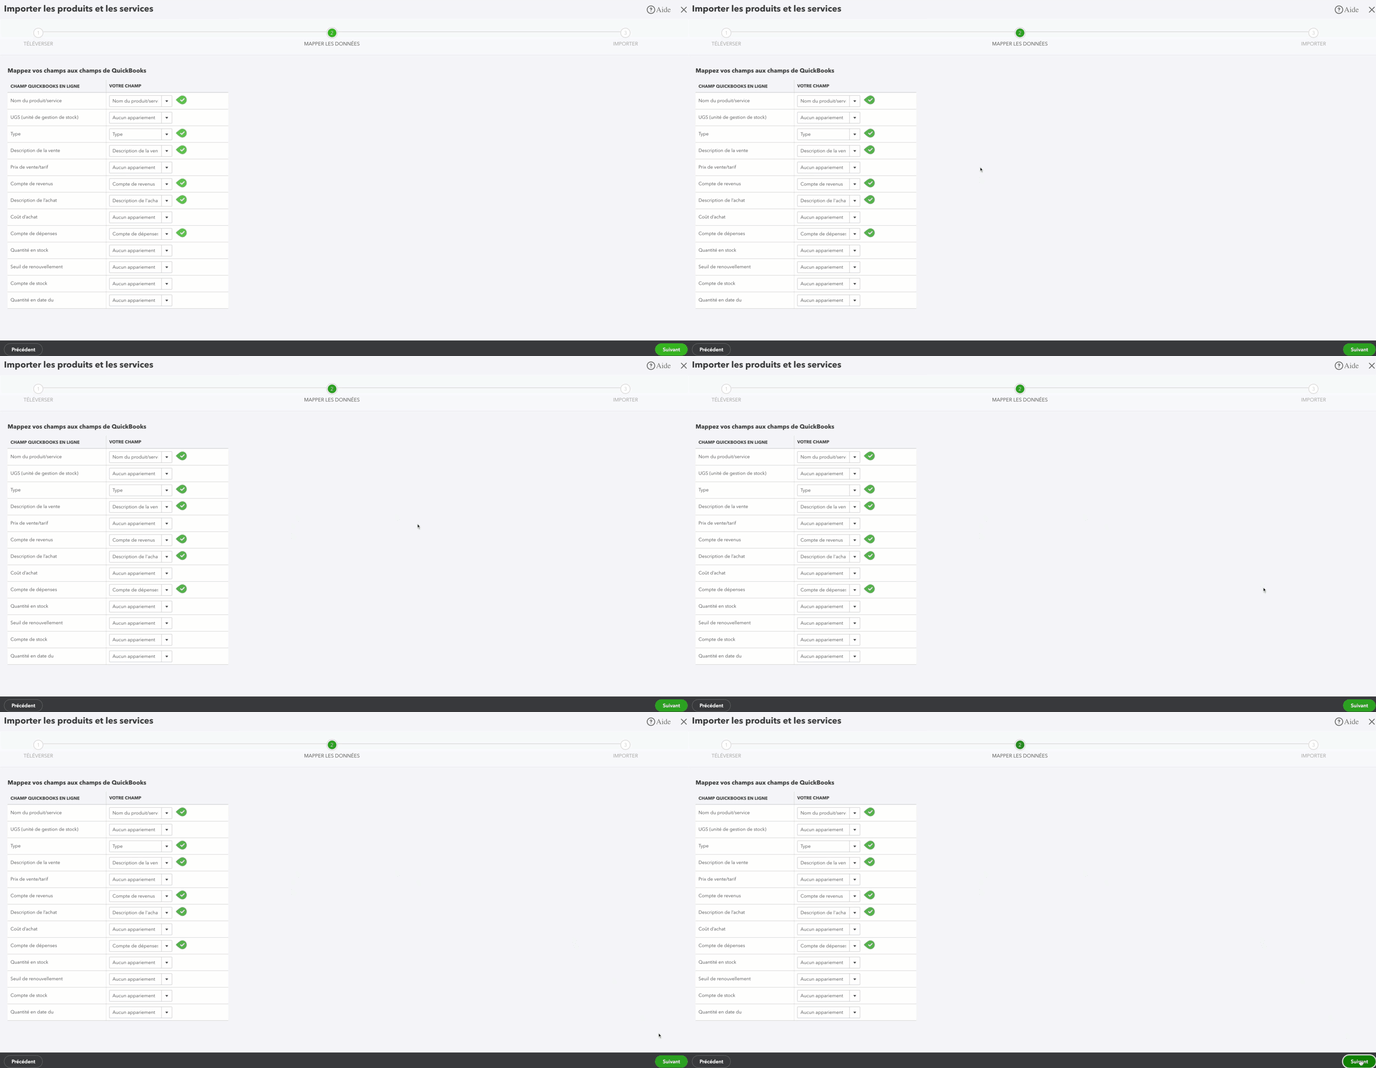
Step 5: For the import of products and services, the fields are already properly filled in, so click on "Next".
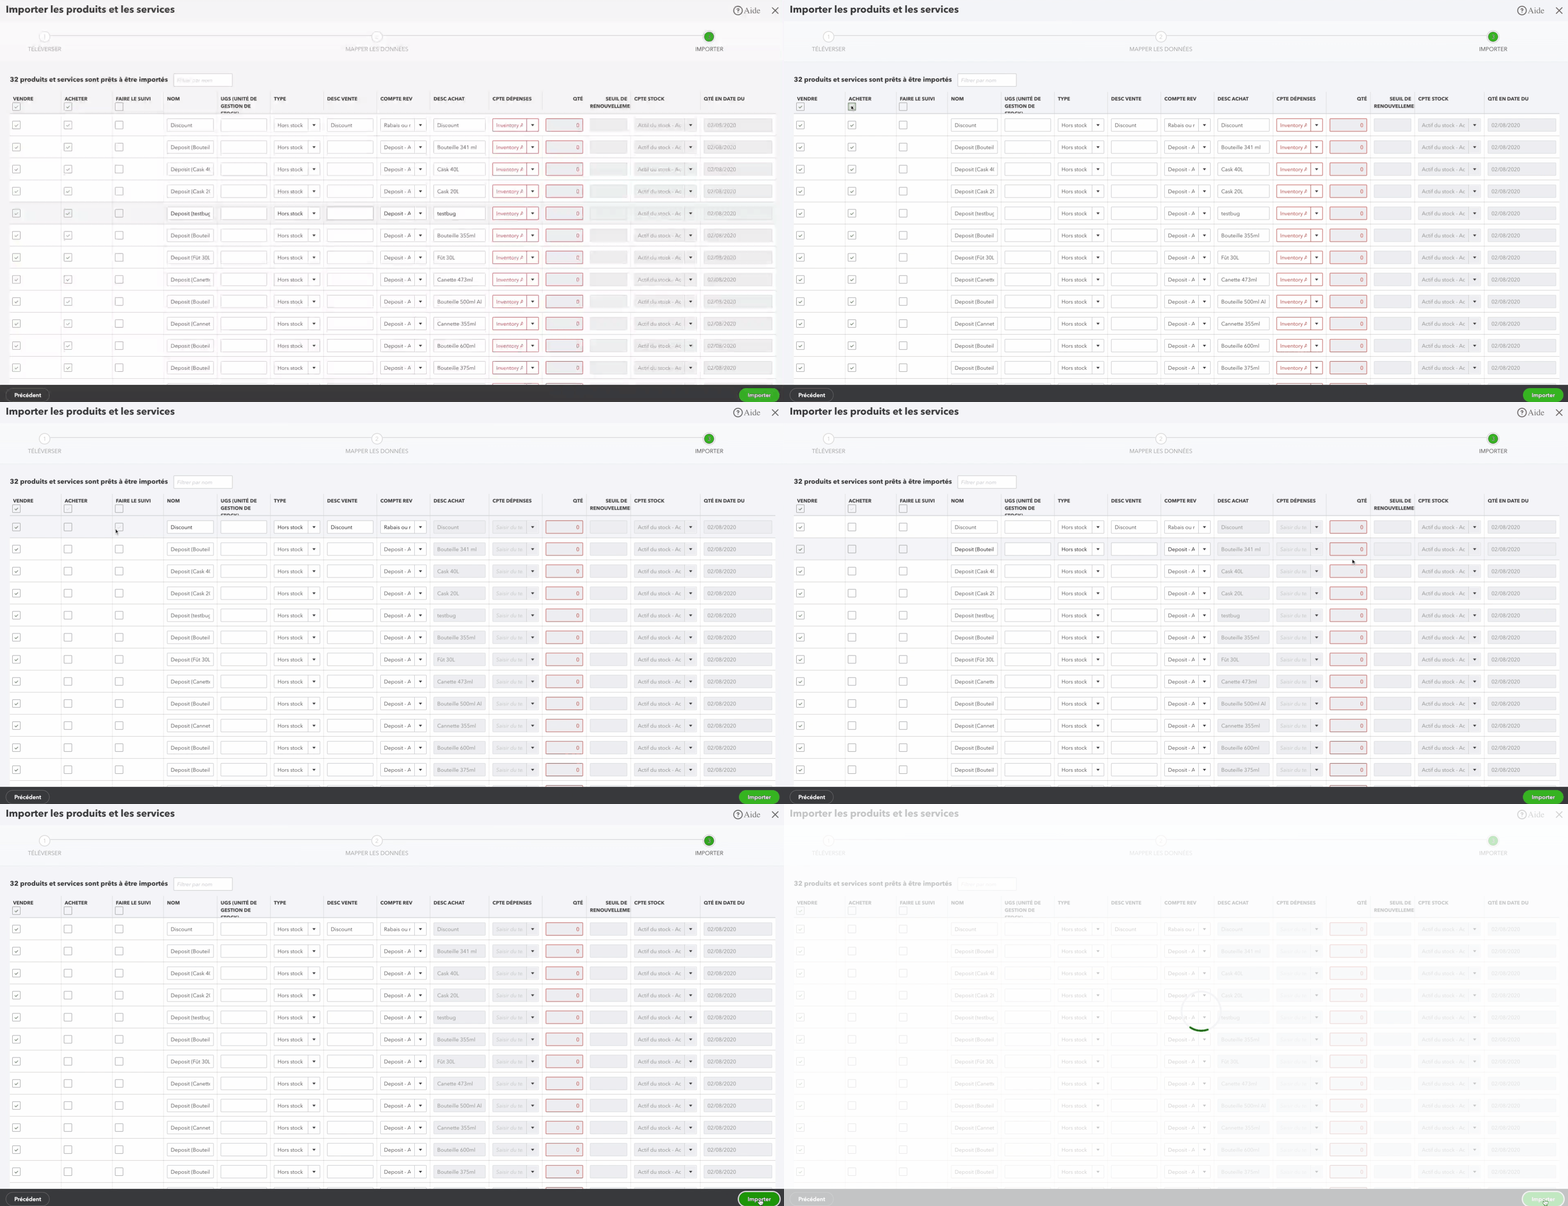
Step 6: Deactivate the buyable status by unchecking the entire "Buy" column and then click on the "Next" button to import the products.
 It is possible that the "QTY" column is marked in red, this will not prevent the import.
Part 3: Importing invoices.
Step 1: Open your menu by clicking on the cog wheel at the top left of your window.

Step 2: From the menu, select "Import Data".

Step 3: Click on "Invoices", this will open the "Import Invoices" box.

Step 4: In the "Import invoices" box, upload the invoices.csv file that was exported from PivoHub. Then click on "Next".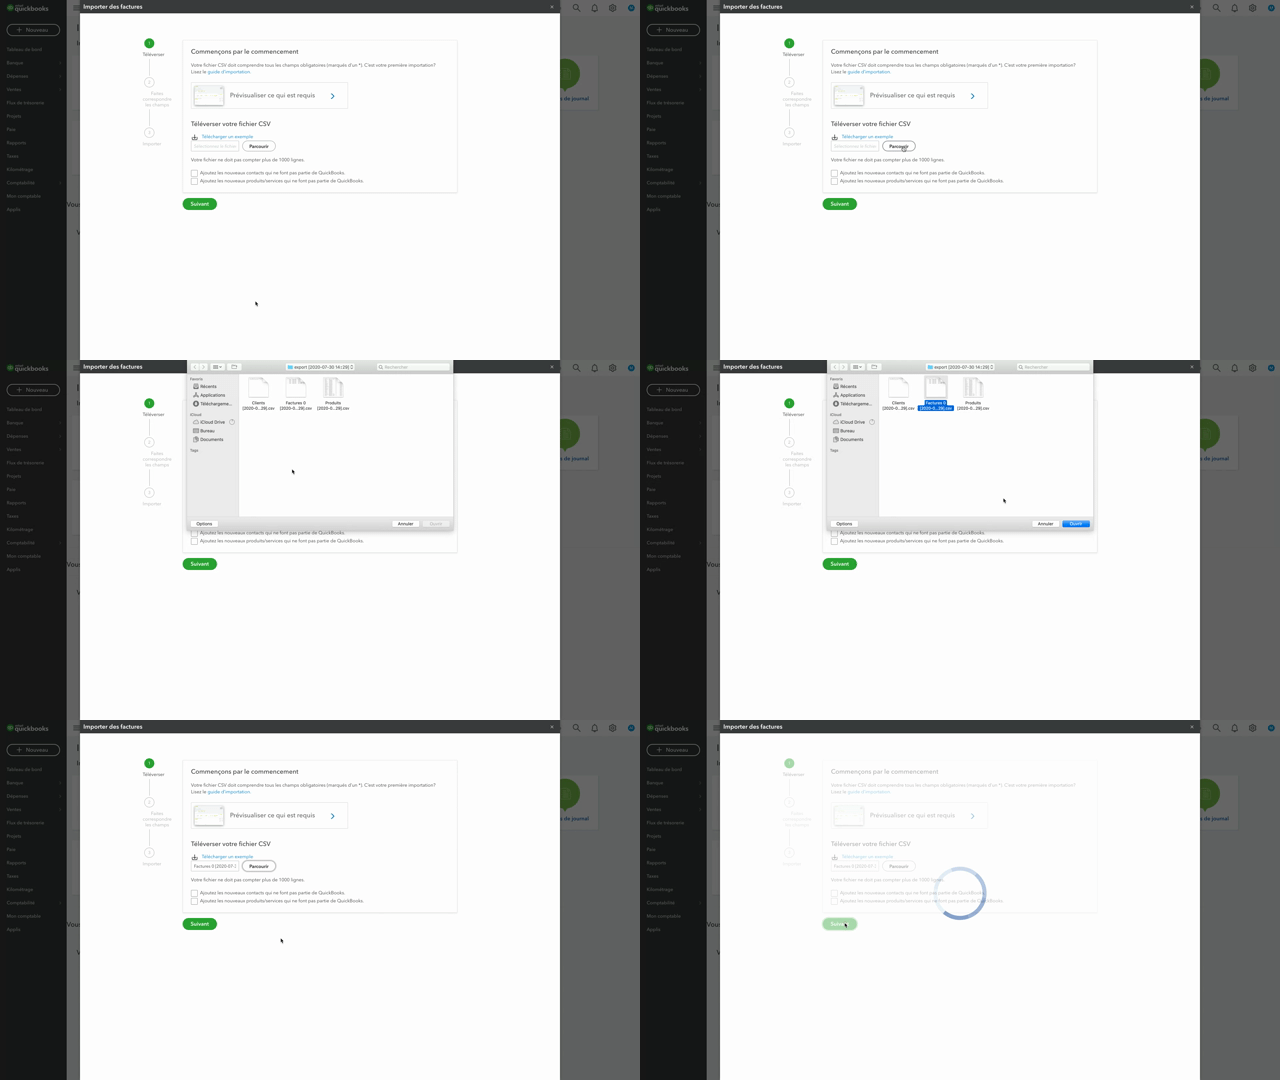
Step 5: Select the date format (D-M-YYYY) and click "Next".

Step 6: Verify your information then click on "start import".


Duplicate invoices will not be created.
Didn't find answers to all your questions?

