
It's time to create your products, and here's how to do it!
Step by step
Step 1 : In the main menu, select "Profile & Products".
Step 2 : Once on the "Profile & Products" page, click on the icon ![]() .
.
Step 3 : Select the type of product you wish to create and then press the "next" button.
Step 4 : Fill in the fields with the information of the product you wish to create.
Step 5: Click on the button ![]() to access your images.
to access your images.

 Tip : Grouping the images you want to use to represent your products in a folder on your computer will make this step much easier!
Step 6 : Select the image you wish to use, then click "Open".
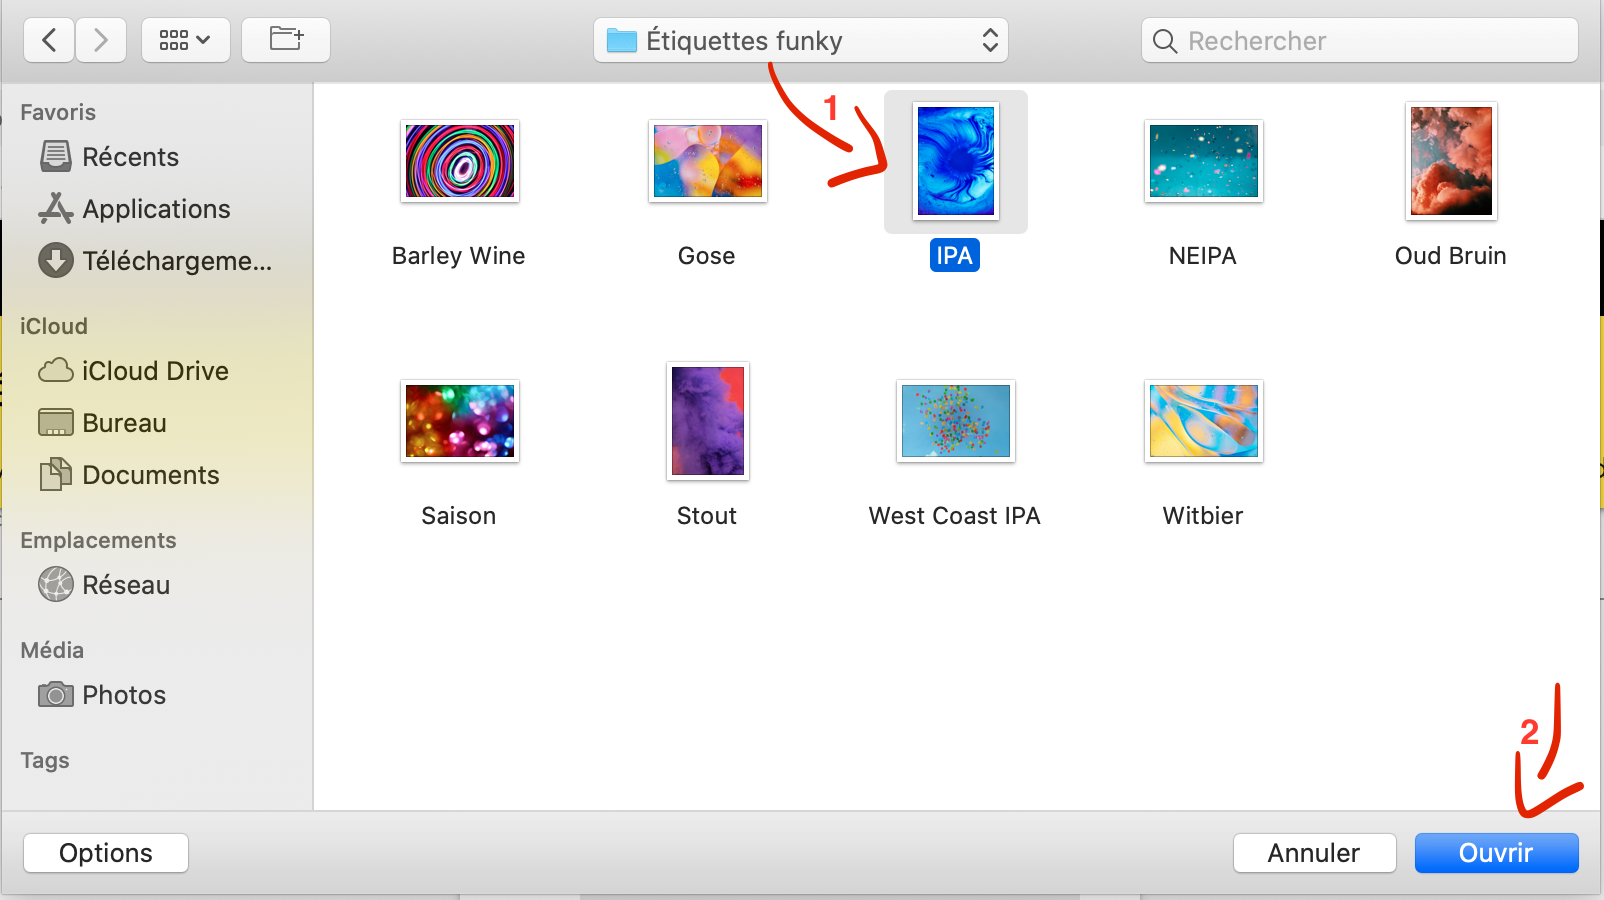
 If the product you wish to create is a beverage, the images used can be images of the labels. However, for other types of products, you will need to use a picture of the product.
Step 7 : Indicate whether the image you have chosen is a label or not. If your image is not a label, select "Image" then click "Save" and proceed to Step 9.
Step 8 : If your image is a label, drag the buttons at the top left and below the image to control the size and position of your label.
Step 9 : If this product is sold in multiple formats, click in the space under "Add a distribution format". You can add as many formats as you wish for each product.
Step 10 : Choose the format you wish to use as the main visual for your product. This is the image that the retailer will first see when walking through your PivoHub store.
Step 11: Click the "Save" button when you are finished.
Yeah! Another step closer to being done 🤗
⬅️Go back to previous step Go to next step ➡️
Didn't find the answers to all your questions?
